Starting From Scratch
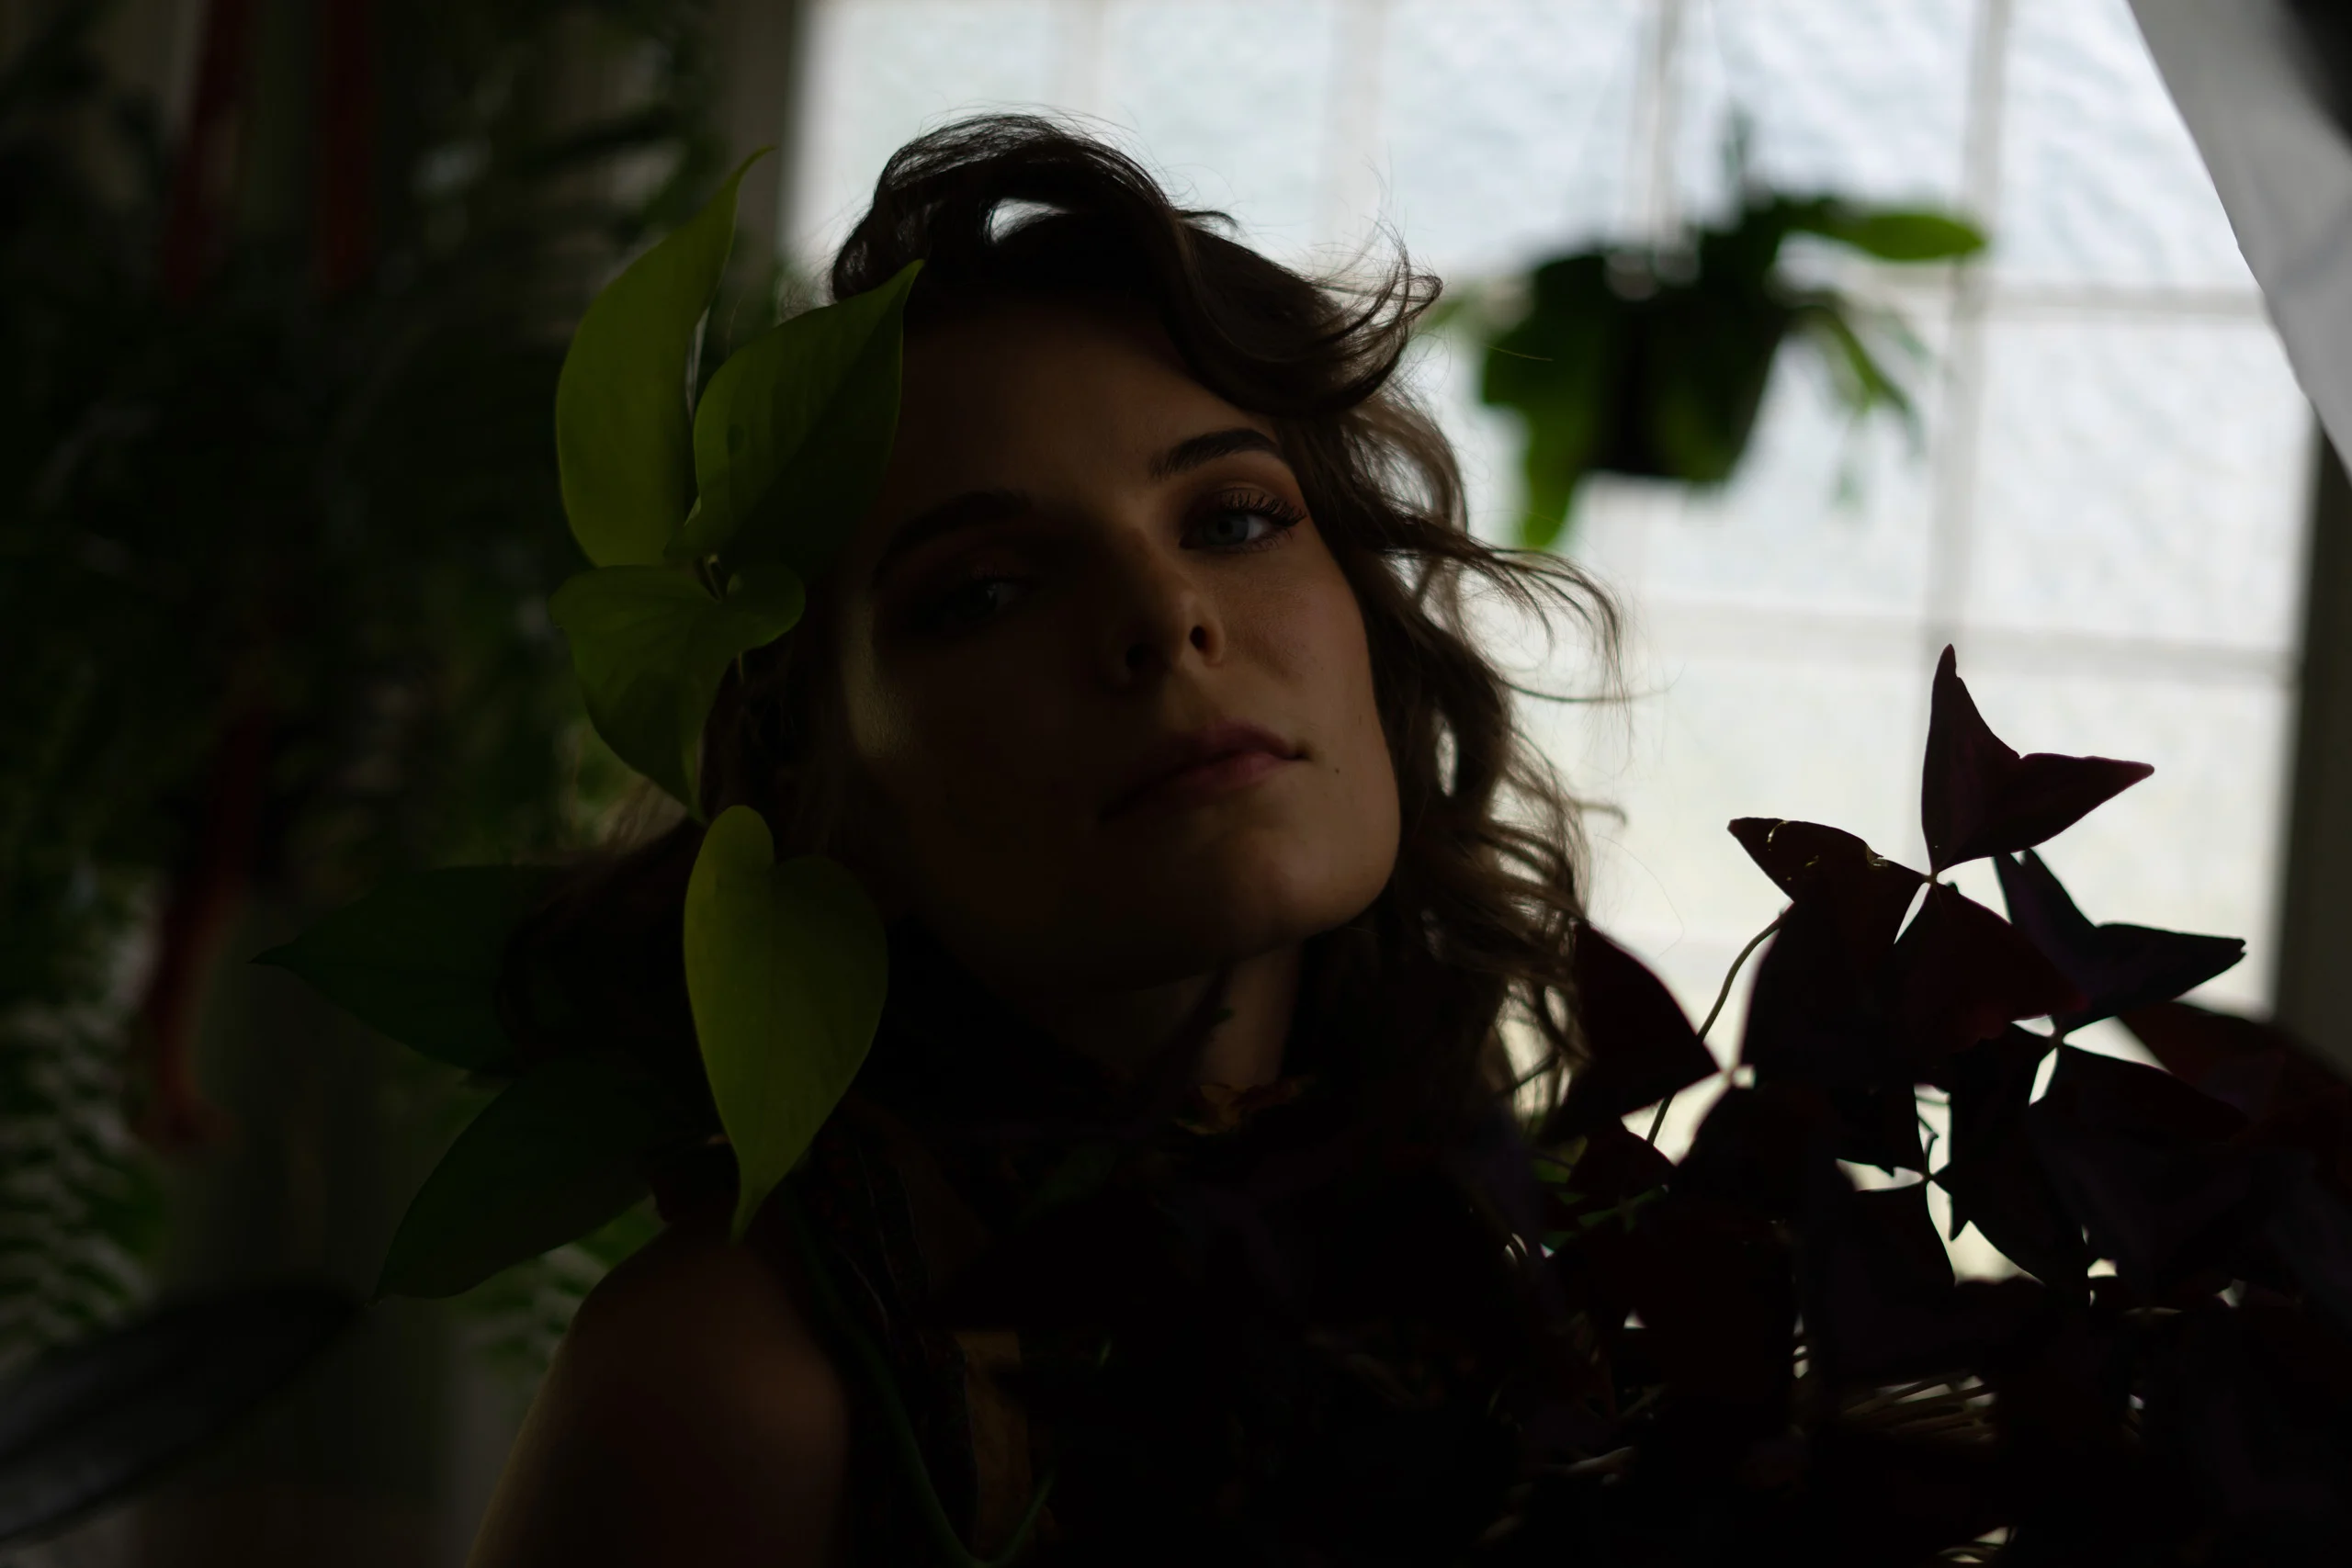
The image I will use in this example was taken in 2021 in natural light, but indoors. Because of this the original photo was dark. You can use Photoshop, Lightroom, Affinity Photo, RawTherapee, or whatever you like. I prefer Photoshop and AdobeRAW. The first step in color-grading the photo was to bring in some light. A lot of light. Luckily, the camera has excellent dynamic range and the photo is a RAW file and contains a ton of data. So, I’m able to pull the exposure up a good bit and get it to a place I like without destroying the image.
After that, it’s just a matter of tweaking any (or all) of the different options to get a look and feel I’m happy with. For me, this process is usually just going through my presets (my own presets that I have created over the years) until I land on something I like, then doing minor tweaks until I reach an edit I am happy with.

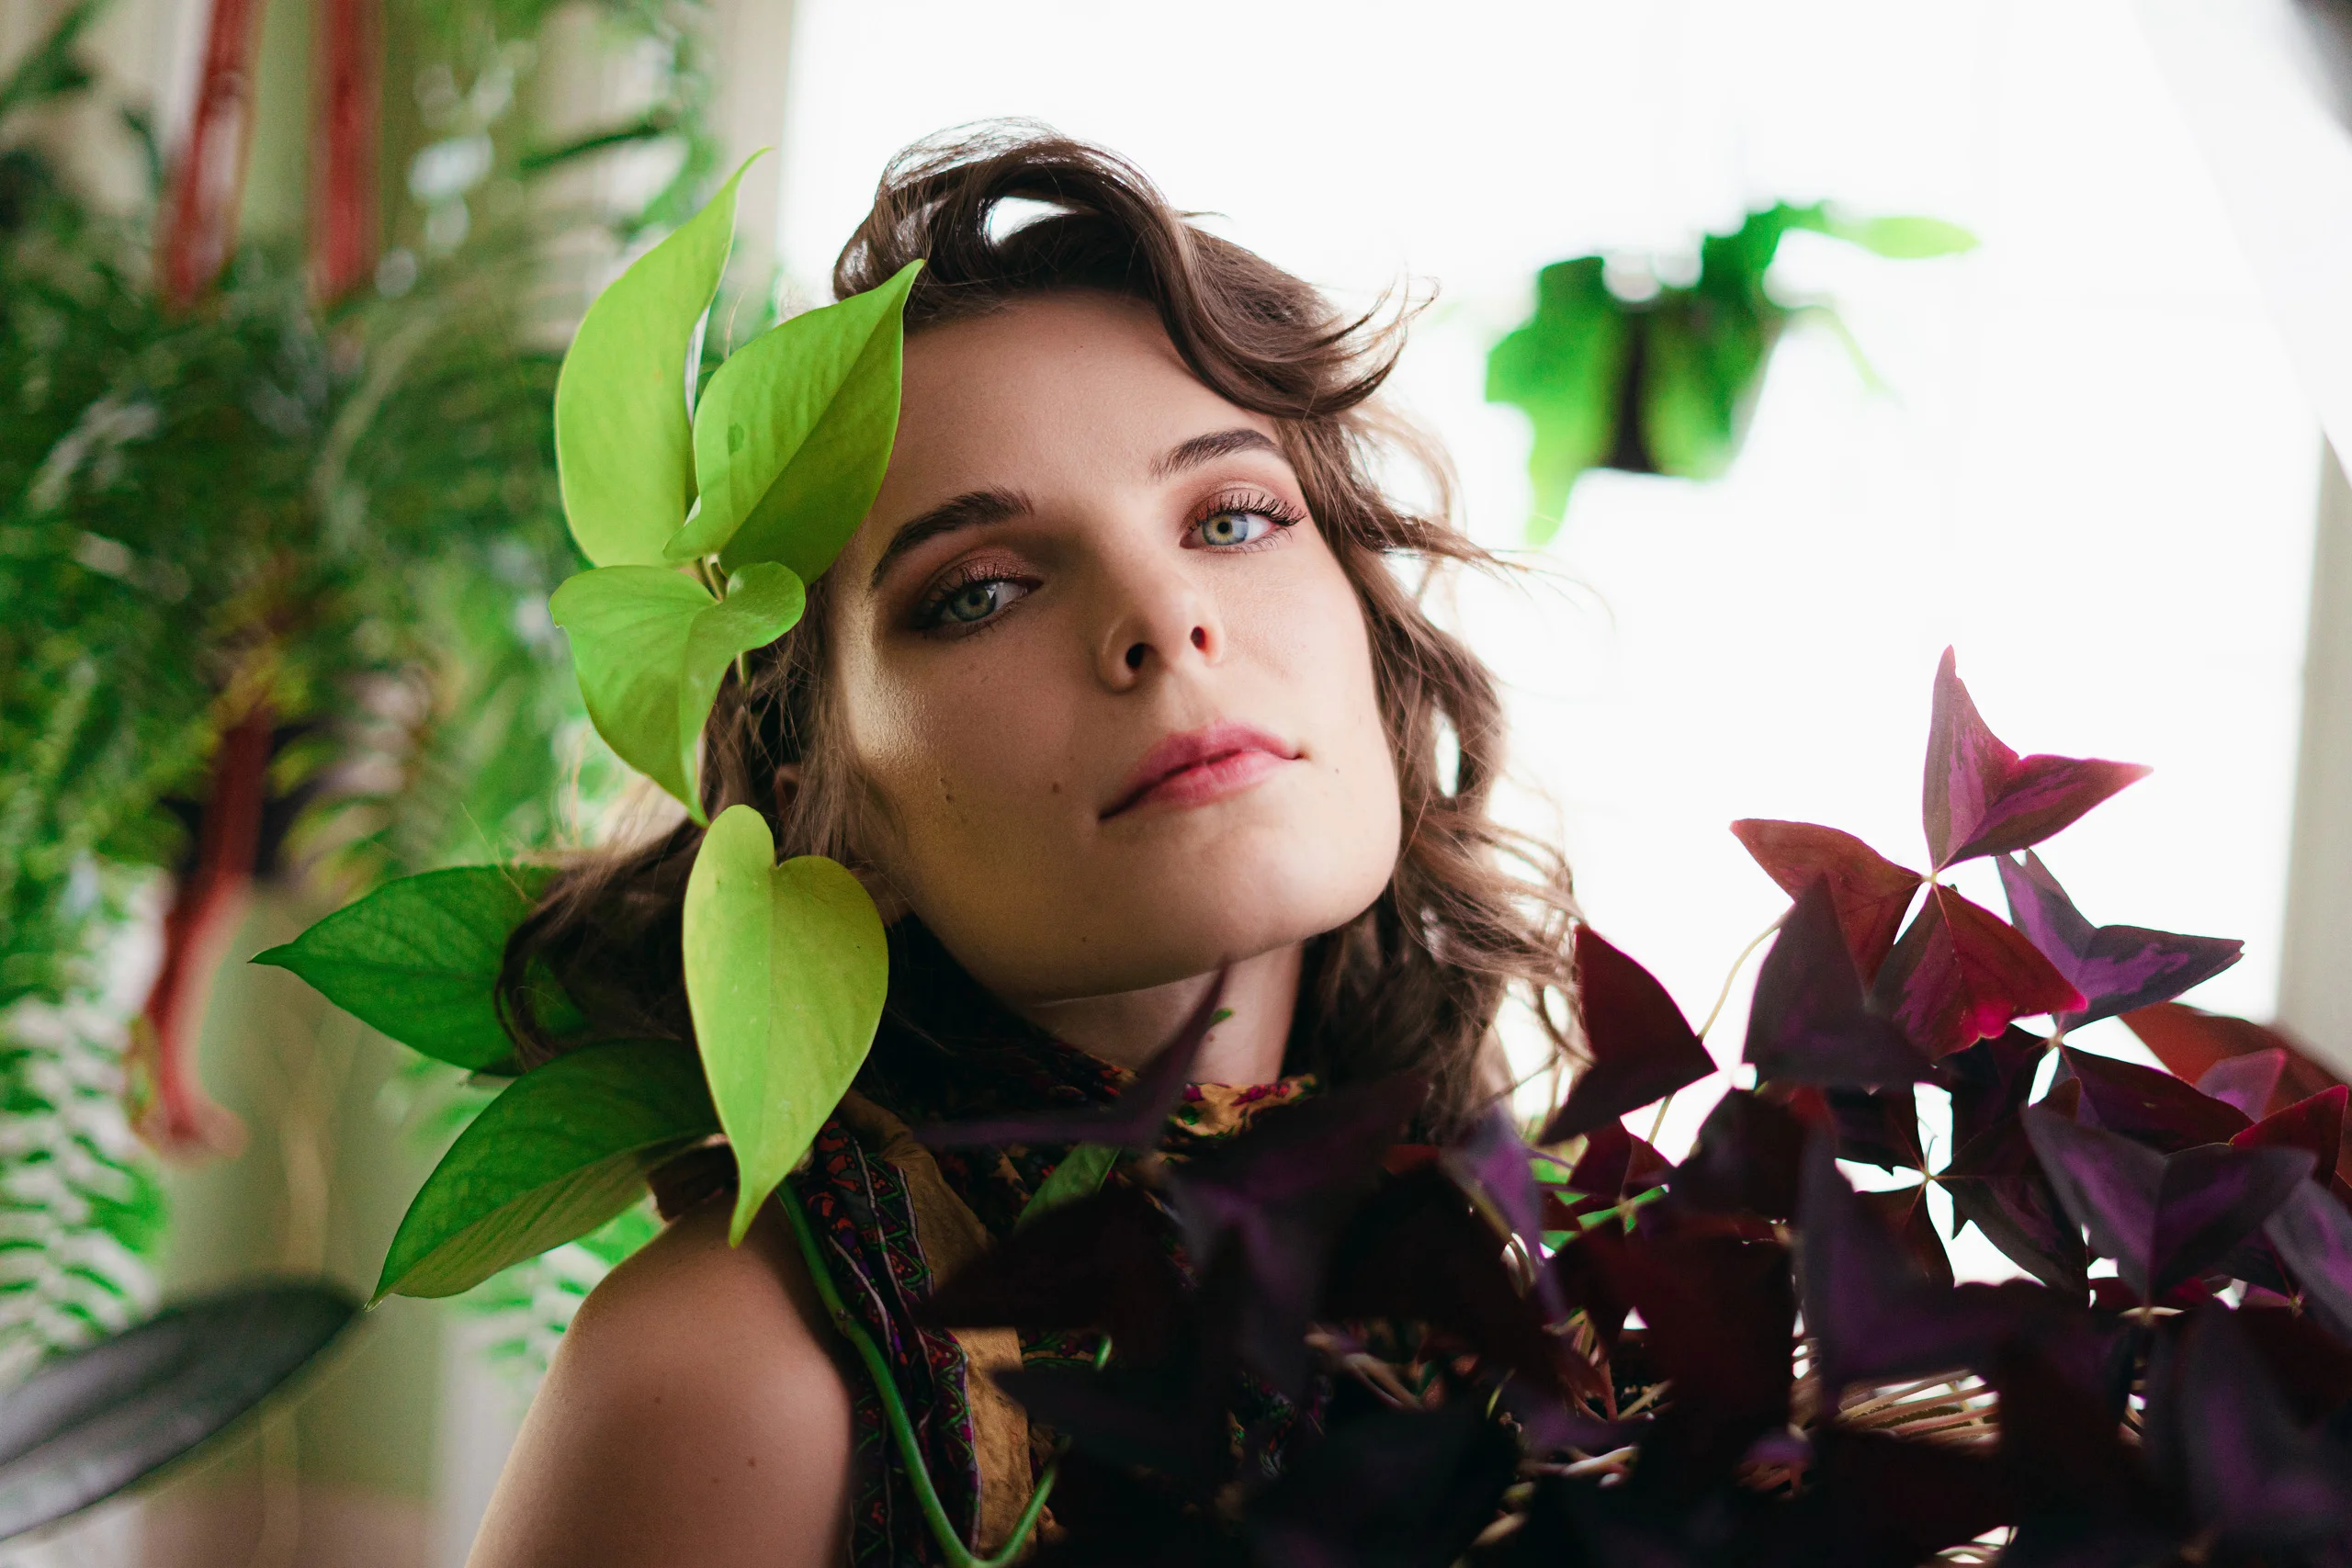
As you can see in the comparison below, these edits alone put the photo in a great place. It’s bright, colorful, and presentable. But, we can still improve.

Retouching
This next part is subjective. There are potentially infinite ways to do it and I do not consider my process to be the right way, it’s just a way. I did not create this process, but I adopted it from PixImperfect. Specifically, instruction from his video on using frequency separation for skin retouching. In this process, we take care of skin blemishes, even out the colors, and get rid of anything distracting in the image.
I didn’t see much in the that I would consider distracting. There was a flyaway hair in front of a leaf that I was able to heal away and a couple of the oxalis leaves had some damage that I cleaned up. After working on the background/environment, I move on to the skin.
Again, I want to mention that this step is subjective. I refuse to overdo my edits because that can begin to look like a shitty Snapchat filter. I like for the edits to be natural – where you almost can’t tell there was an edit. For this reason, I won’t remove moles, I’m not making lips larger, I’m not removing wrinkles, I’m not “fixing” waists… Hopefully you get the idea. I will still remove holes from old piercings or tattoos if they don’t fit in with the shoot, but it seriously depends on the shoot.
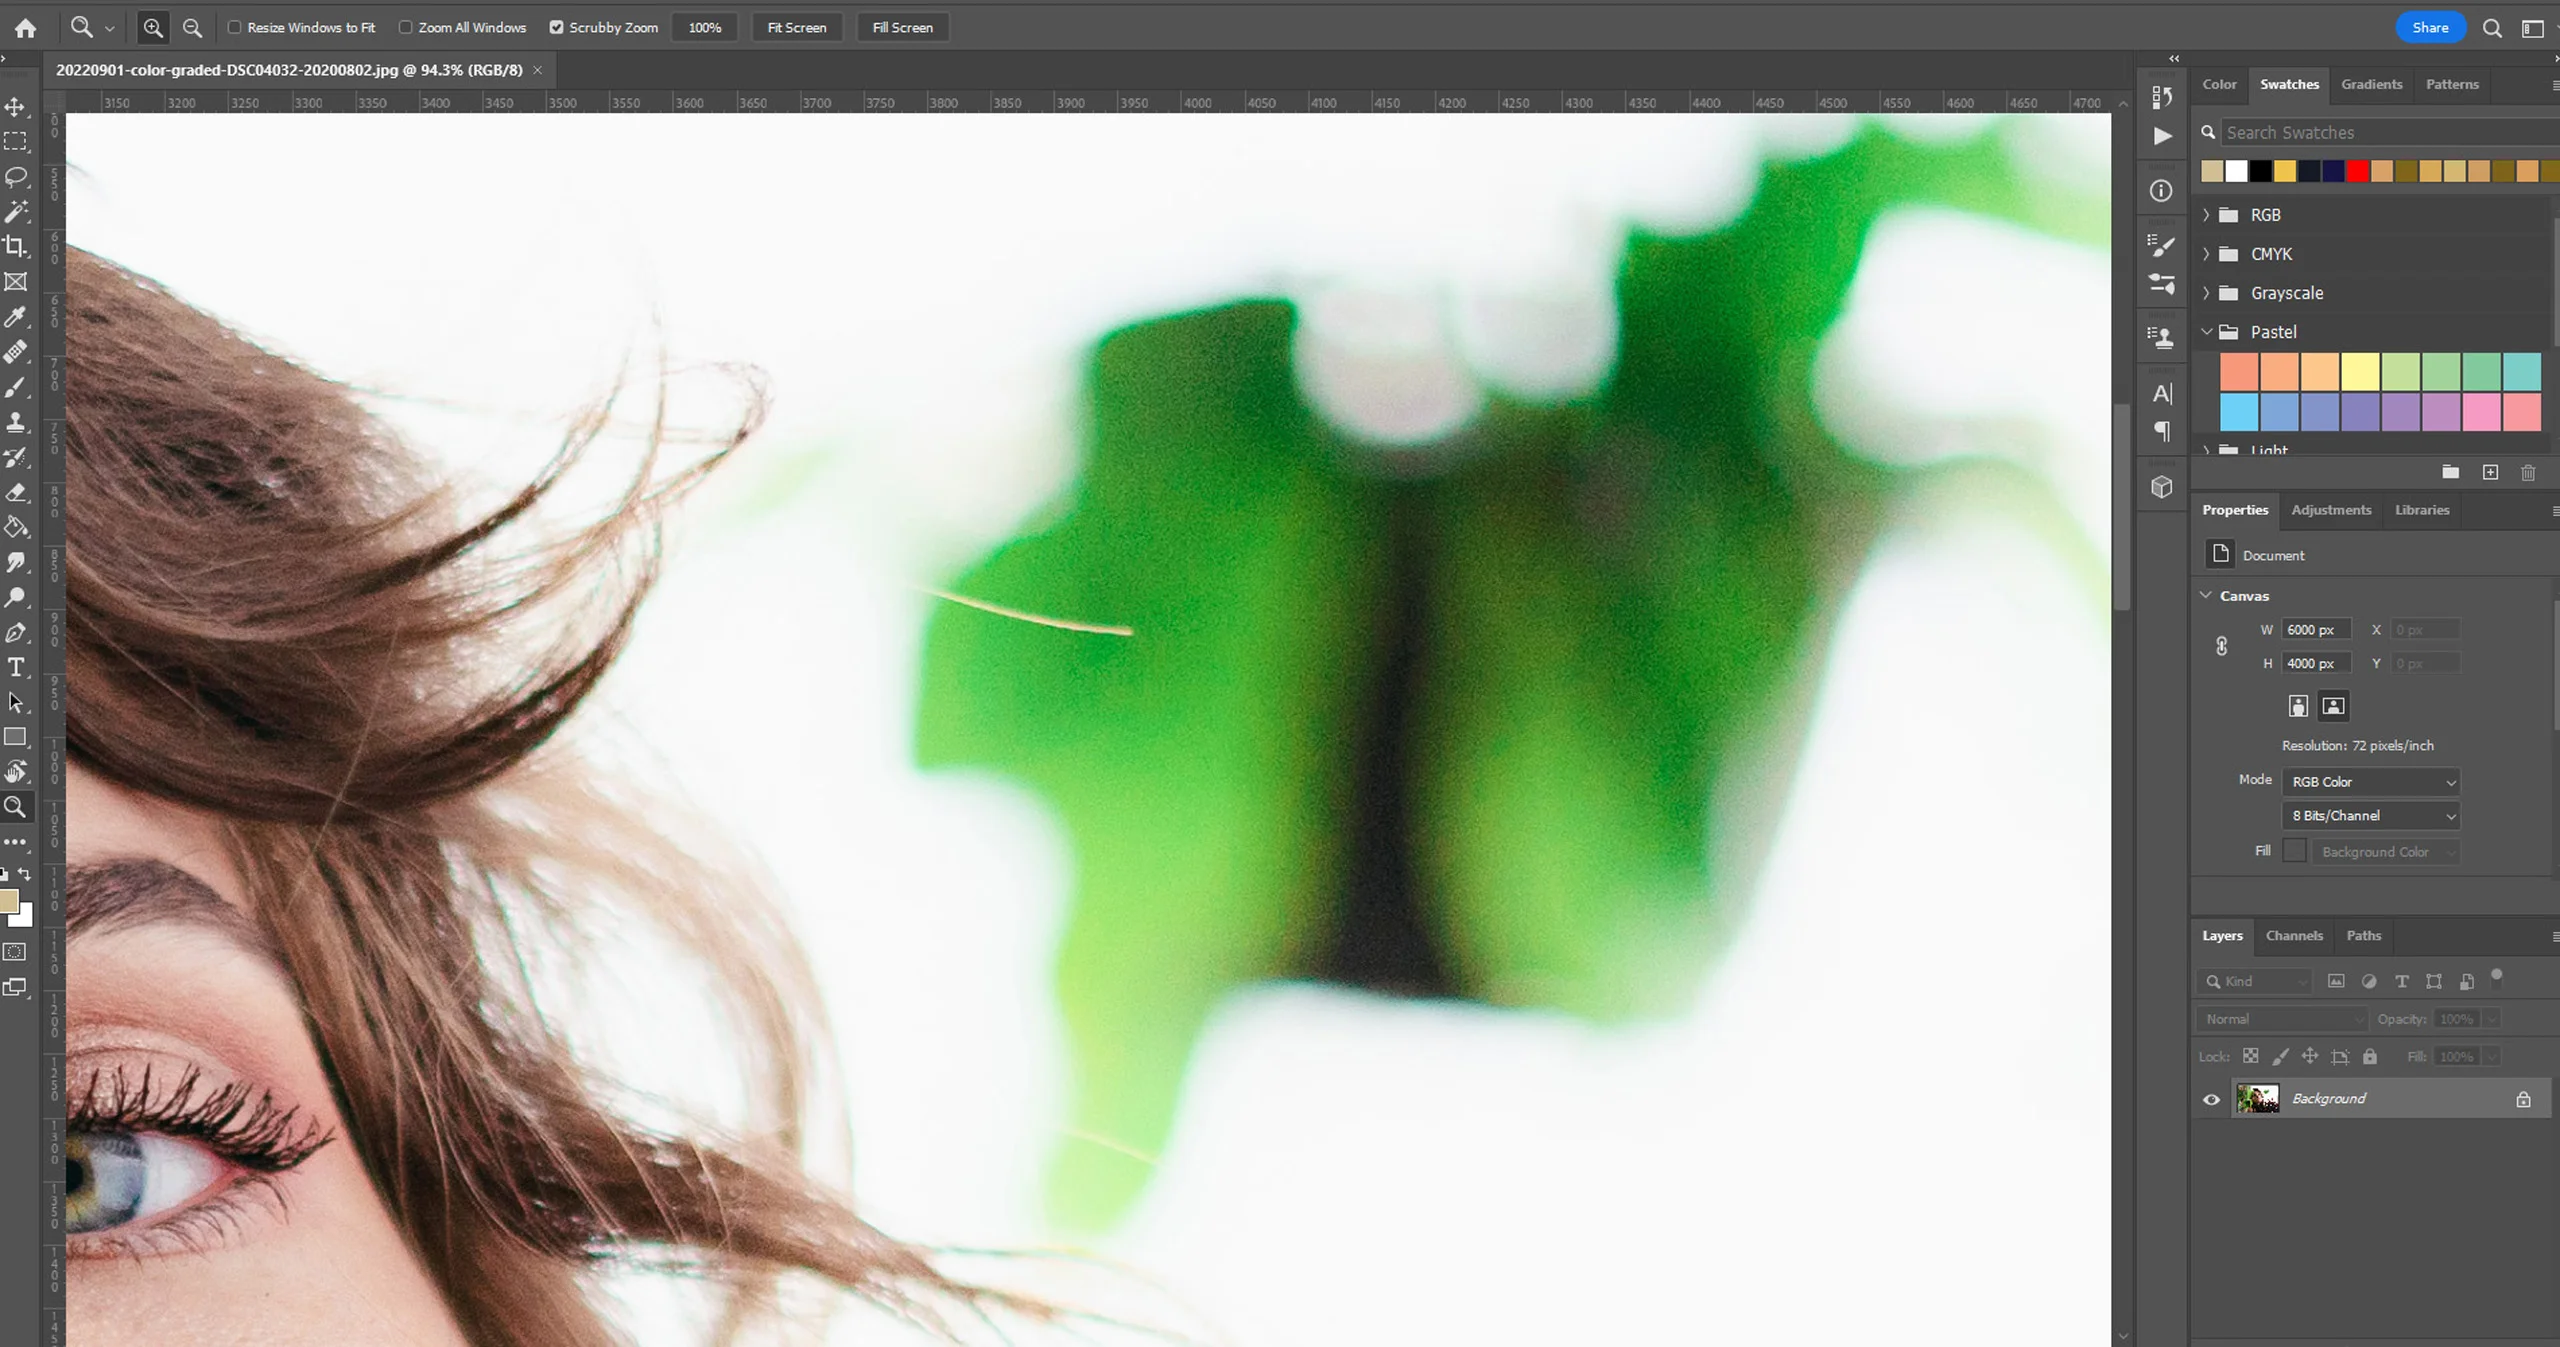


In this step, I found some out-of-place mascara, some minor blemishes, a spot on the lip, the lip-piercing hole, and a few more distracting hairs. At this point, we can apply the PixImperfect action and start evening out the color. I won’t go into too much detail about this process since he describes it all in his video. After smoothing out the color, I reduce the opacity of that layer to bring tone it down a bit. This helps keep it looking natural and less like a filter.
After that, I can do a final pass over the image to make sure it is up to my standards. In this case, I found a couple more very tiny imperfections that most people would never notice… But I noticed.
The Final Result
The comparison below is the out-of-the-camera JPEG versus the color-graded, retouched photo.

If you’re looking for someone to edit your photos, let me know. I may be able to help. Otherwise, feel free to ask any questions about my process. If you want to practice editing photos yourself, check /r/editmyraw for a variety of RAW photos you can throw into Photoshop, Lightroom, or whatever your choice of software is.